background

Thursday, July 11, 2013

7-Up Biscuits

I've been seeing recipes for 7-Up Biscuits all over Pinterest for awhile now.

One night while deciding what to make for dinner I realized that I had all the ingredients on hand to finally try this bizarre seeming recipe. AND they would be perfect with the salmon I was making!

I typically double most recipes, but this one seemed as if it might not work, so I kept the original measurements. I mean, how could biscuits bake properly with pop and sour cream?!

Well, let me tell you, they bake just fine... More than fine.. More like amazing...
More like, eat the whole pan good!


You Will Need:
2 Cups Bisquick
(plus more for patting out)
1/2 Cup Sour Cream
1/2 Cup 7-Up
1/4 Cup Butter, Melted

Step One: Preheat oven to 450 and add your Bisquick to a mixing bowl.
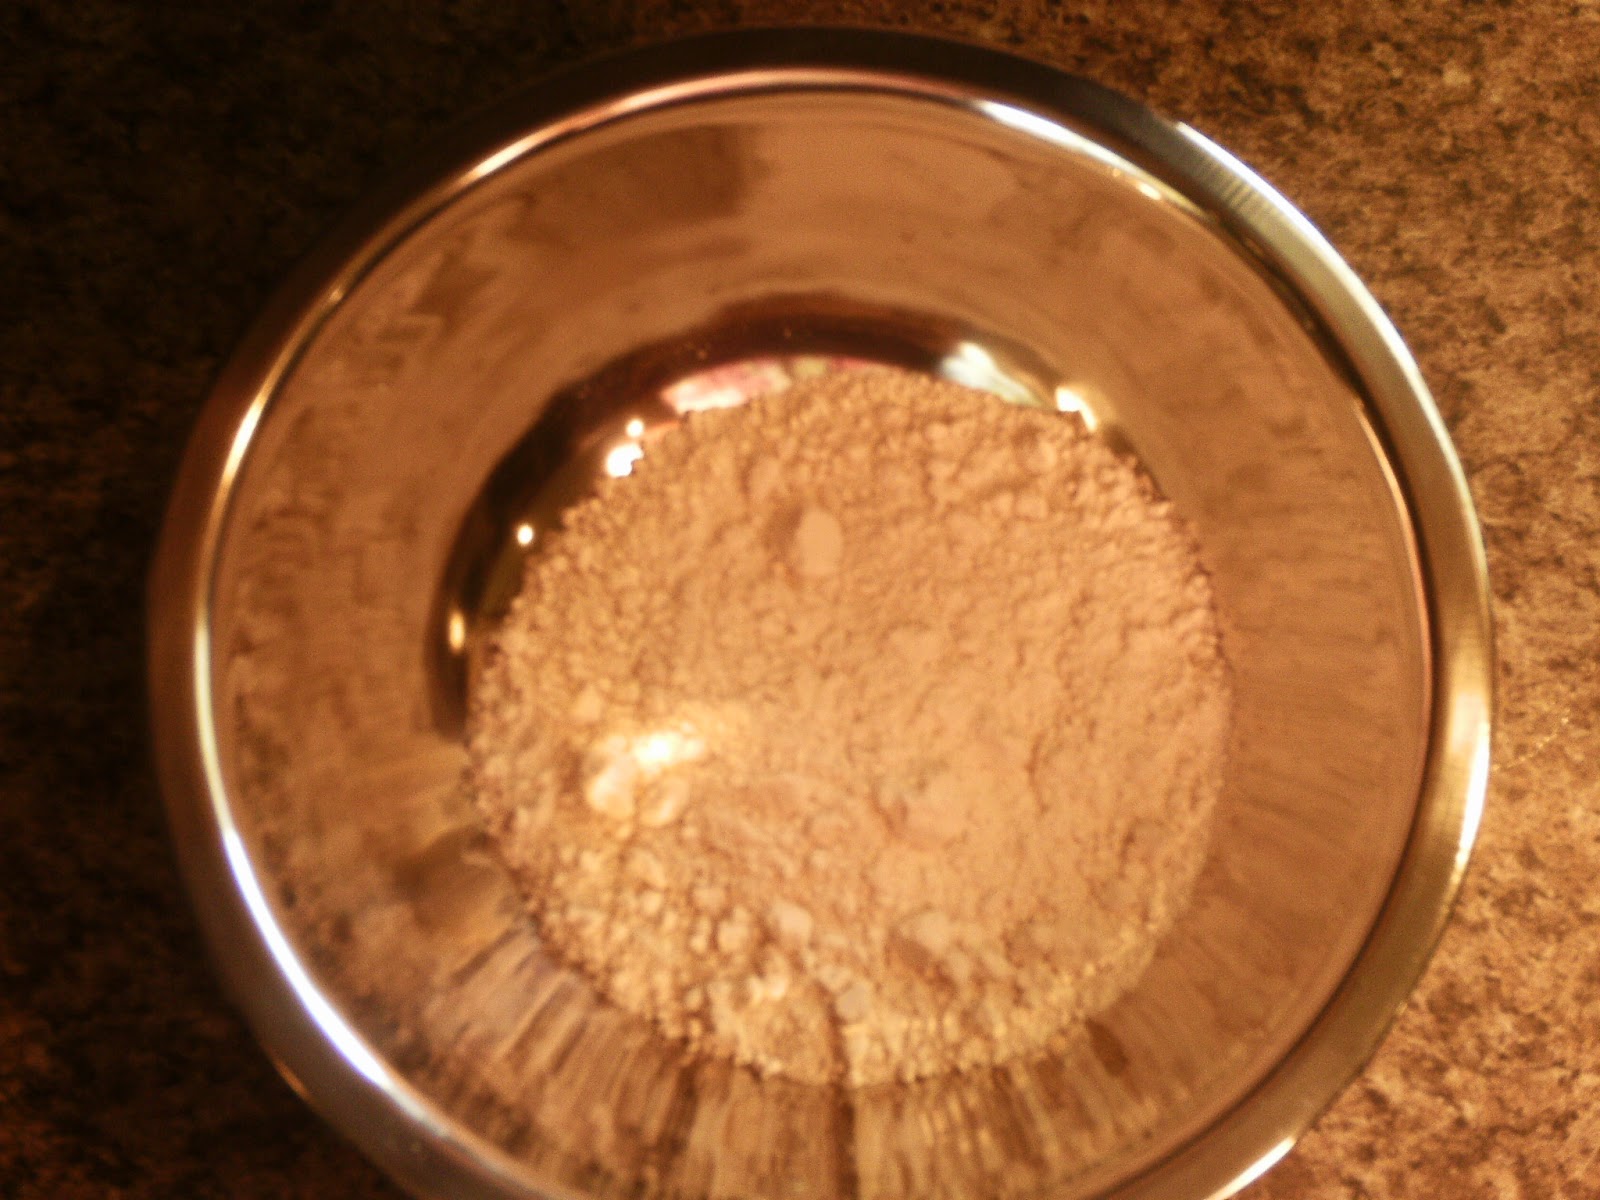

Step Two: Slowly add sour cream. Fold in with fork as you go.


Step Three: Slowly add 7-Up. Continue folding. Fair warning, dough will be very sticky!


Step Four: Add melted butter to the bottom of your 9x9 square pan.


Step Five: Sprinkle Bisquick on a flat surface to pat our your dough. Prepare yourself for frustration.

Step Six: Roll out the stickiest dough you will ever encounter. Be sure to flour your hands first! And even if you do you will be a sticky mess like me.


Step Seven: Cut your biscuits into squares. I used the bottom of a tupperware as a template. You know, cuz that's the proper tool to use in this situation.... Or maybe a biscuit cutter if you're fancy like that. Whatever.


Step Eight: Arrange biscuits on top of your buttered pan. 


Step Nine: Bake 12-17 minutes depending on your oven. Mine were perfect at14 minutes.


Step Ten: ENJOY. And try not to eat half the pan before your husband even gets to them. Not that I did that or anything...


I could not believe how good these were! I was worried they'd be sweet or lemony from the 7-Up, but not at all! They were perfect!


Monday, July 8, 2013

Mirror, Mirror On The Wall

I'm all about mirrors. I have them all over the house and I keep buying more. I love how they reflect light and open up a dark room. Plus, sometimes it's nice to be able to take a quick peek to make sure I look ok. You know, no eyeliner smudged, hair's not a mess, whatever.

I'm totally a craigslist fiend and am all about finding things for cheap or free! Awhile back I found this adorable antique mirror for only 20 bucks. I hopped right on it and had John pick it up on his way home from work. He, of course, thought it was hideous. It was this awful painted brown wood with gold trim. Not our style.

BUT. Anytime I'm looking at home decor, I always look past whatever color it is and look at what it is. Can it be painted? Can it be stripped and stained? This is the key. About half the items in my home have been refinished! That's the secret. It's so satisfying to take something "ugly" and turn it into something beautiful.

And even better, I can use paint that I already have to match the item to other decor in the room! When I bought this mirror I had absolutely no idea where I wanted to put it. I just knew I had to have it. After contemplating for a week or two I thought I would be a great future nursery mirror for over the changing table. (earthquake proofed of course, so it's safe!) Although we aren't even expecting yet, I figured this would be perfect. So, I broke out the nursery wall paint (Glidden's Swan White) with plans to hang it on the gray accent wall in there.

How To Repaint a Mirror

First, I carefully taped out the entire mirror with Green Frog Tape and laid the mirror down on some paper bags. (cardboard works too)


Then, I used my paint brush to dab in between all the finer details. This ensures that there will be no brown paint peeking through. I like to use an artists brush for projects like this (with less surface area). They are easier to handle, can get into all the nooks and crannies and leave less brush strokes.


Next, I added three coats (with about 25 min drying time in between) to the entire mirror.


Finally, I let it dry for about 3-ish hours, removed the tape, and voila! A beautiful new mirror!


I don't know why the reflection of my ceiling looks green in this pic, but I promise, no green ceilings in my house! The mirror looks a million times better! And all together this project only cost me $20 for the mirror since I already had the paint, tape and brush. Wa-hoo!!!


Monday, July 1, 2013

Kauai: Day Seven

As our last full day in Kauai, I woke up feeling a bit sad. Other than missing my dog, I was in no way homesick and willing to stay until the end of the month. We squeezed in every last minute of our day seeing as much as possible. We saw Historic Hanapepe, Waimea canyon, Salt Pond Beach, Glass Beach (filled with glass and black sand... too cool) and a wild baby pig joined us at dinner in Poipu! (at dinner, not for dinner... just to be clear!) 

Everything was absolutely breathtaking and I think this time I'll just do pics with no narration. Enjoy =)


Sunday, June 30, 2013

Kauai: Day Six

Aaallllll week we were looking forward to this day! We had an ATV Tour booked! I couldn't wait to get in that mud bug with John and do something dirty! (their slogan... not mine)

But, the dirty shenanigans weren't until noon so we checked out the beach in front the the hotel again. But this time, the tide was out! Remember this from day one?


Well, look what was hiding underneath!


We were so excited when it was finally time to head over to Kauai ATV! It was such a blast! We rode around on a Mud Bug, learned history of the sugar mill, toured an underground army bunker, saw some places where movies were filmed (like Jurassic Park!), got dirty and then took a dip at a small waterfall! It was seriously our favorite part of the whole trip!


Do you remember the scene in Jurassic Park where Dr. Grant and the kids are running through the clearing from the stampede and they hide behind the log? This is where it was filmed! This field has been used in over 200 movies apparently!


When the tour was over we checked out the gift shop and I wanted this so bad! But white isn't practical =( So I settled for a purple, maroonish one... that didn't say anything about honeymoon. I'm still pouting about it a little bit...


On our way out to dinner I finally caught a break from the icky cloudy weather and got these beauties!