I'm totally a craigslist fiend and am all about finding things for cheap or free! Awhile back I found this adorable antique mirror for only 20 bucks. I hopped right on it and had John pick it up on his way home from work. He, of course, thought it was hideous. It was this awful painted brown wood with gold trim. Not our style.
BUT. Anytime I'm looking at home decor, I always look past whatever color it is and look at what it is. Can it be painted? Can it be stripped and stained? This is the key. About half the items in my home have been refinished! That's the secret. It's so satisfying to take something "ugly" and turn it into something beautiful.
And even better, I can use paint that I already have to match the item to other decor in the room! When I bought this mirror I had absolutely no idea where I wanted to put it. I just knew I had to have it. After contemplating for a week or two I thought I would be a great future nursery mirror for over the changing table. (earthquake proofed of course, so it's safe!) Although we aren't even expecting yet, I figured this would be perfect. So, I broke out the nursery wall paint (Glidden's Swan White) with plans to hang it on the gray accent wall in there.
How To Repaint a Mirror
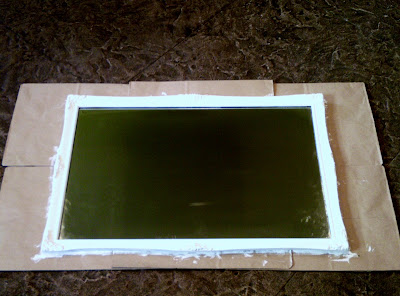
First, I carefully taped out the entire mirror with Green Frog Tape and laid the mirror down on some paper bags. (cardboard works too)
Then, I used my paint brush to dab in between all the finer details. This ensures that there will be no brown paint peeking through. I like to use an artists brush for projects like this (with less surface area). They are easier to handle, can get into all the nooks and crannies and leave less brush strokes.
Next, I added three coats (with about 25 min drying time in between) to the entire mirror.
Finally, I let it dry for about 3-ish hours, removed the tape, and voila! A beautiful new mirror!
I don't know why the reflection of my ceiling looks green in this pic, but I promise, no green ceilings in my house! The mirror looks a million times better! And all together this project only cost me $20 for the mirror since I already had the paint, tape and brush. Wa-hoo!!!


No comments:
Post a Comment